Chill Mode
Any brewer can tell you that beer yeast has a specific temperature range in which it can survive. More importantly, specific beer yeasts have very specific temperature ranges in which they can thrive. For most Ale yeasts (Lager being the other varietal), this temperature range is somewhere between 65 and 75 degrees Fahrenheit. This poses a dilemma for the brewer as the wort (unfermented beer) is fresh off a 60-90 minute boil prior to pitching the yeast, requiring some sort of heat exchange to get that wort down to pitching temps. If the batch is small enough, like those commonly brewed on the stove top, a nice ice bath does the trick well enough. But when a brewer steps up to 5, 10, and even 15 gallon batches, there's no easy way to ice bathe it. Brewers are then forced to resort to other types of chilling. Most commonly this is an immersion chiller, a counter-flow chiller, or a plate chiller.
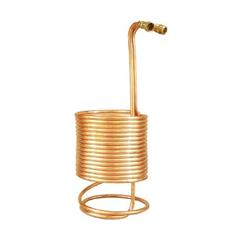 Immersion Chiller | 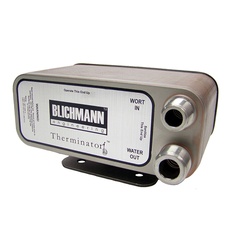 Plate Chiller |
The pictures above are examples of the immersion and plate type chillers; these specific examples are from MoreBeer!, one of my favorite online vendors.
I previously used an immersion chiller and it's nice because it's fairly easy to clean but it really does still take quite a bit of time to chill the wort down. The plate chiller is probably the most efficient way of chilling wort due to the large surface area to liquid ratio, but they can also be a little more intensive on the cleaning side of things. So that led me to the counter-flow chiller. I consider this method to be a compromise between both; fast chilling yet still relatively easy to clean.
I have aspirations to build an all electric brewery (more on that later) for the home and so any purchases or projects I undertake I try to make sure it won't be wasted efforts if/when I migrate to my dream setup. With that in mind, I used the example provided over at The Electric Brewery for my wort chiller setup.

The Electric Brewery's Convoluted Counter-Flow Chiller setup and my inspiration
I really love this design for a few reasons: 1) It's totally CIP (Clean In Place), 2) Instant temperature readings as the cooled wort flows out of the chiller, and 3) It just looks sexy! I can pretty much say that about all the things Kal did over at The Electric Brewery - it's a home brewer's dream!
Alright, enough chit-chat, on to my build!
Alright, enough chit-chat, on to my build!
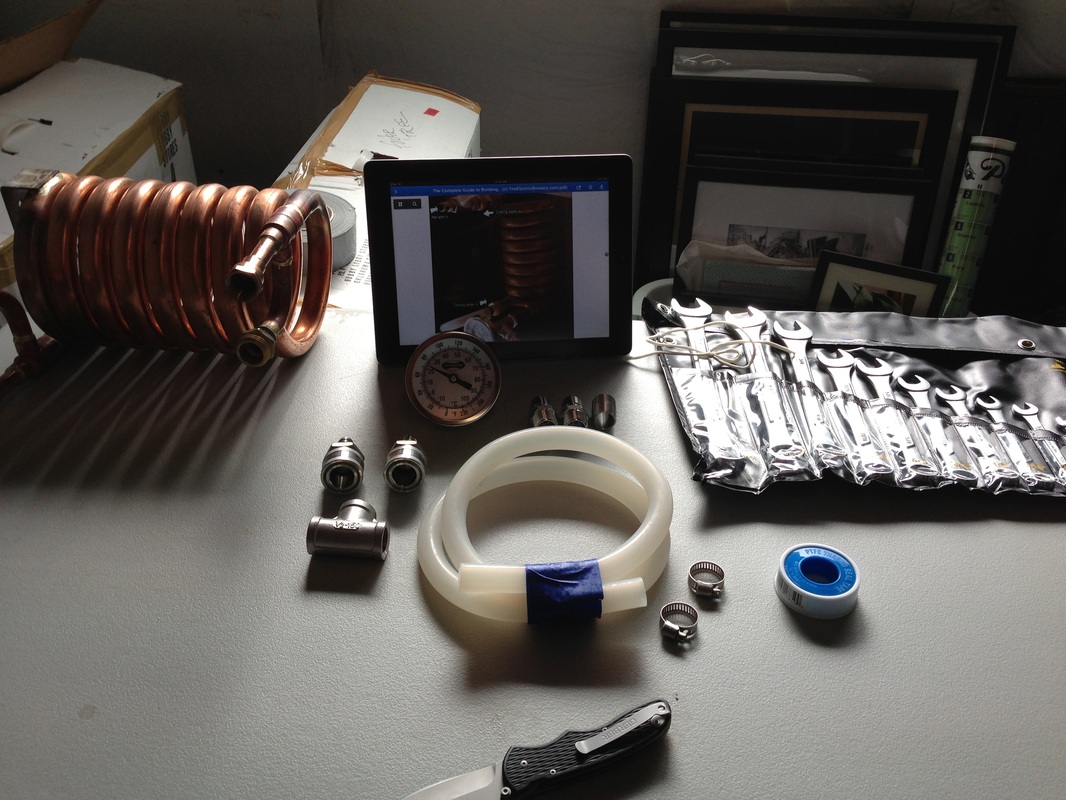
All the parts and tools laid out ready to go! Got my .PDF guide to building The Electric Brewery loaded up for reference.
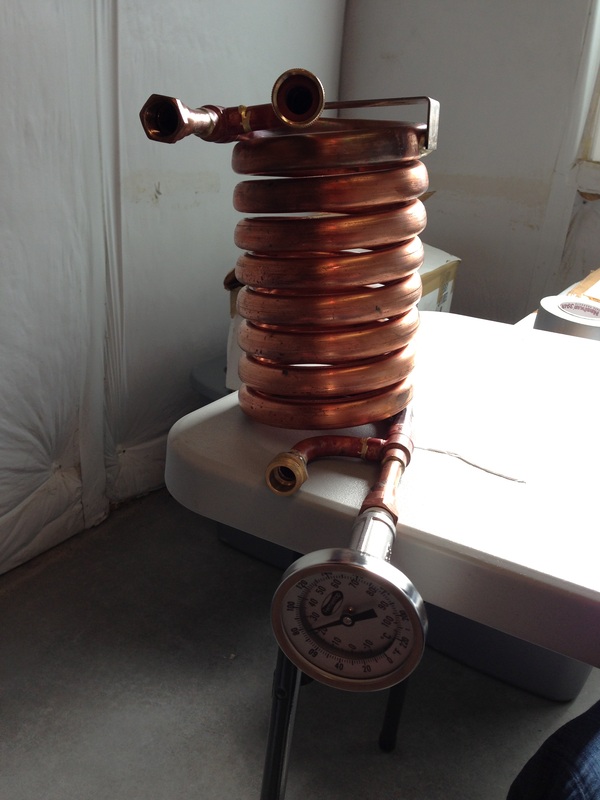
Chiller with the 'T' and thermometer attached
The thermometer was a little crooked but after some heavy wrench work I got it to line up enough to satisfy my OCD.
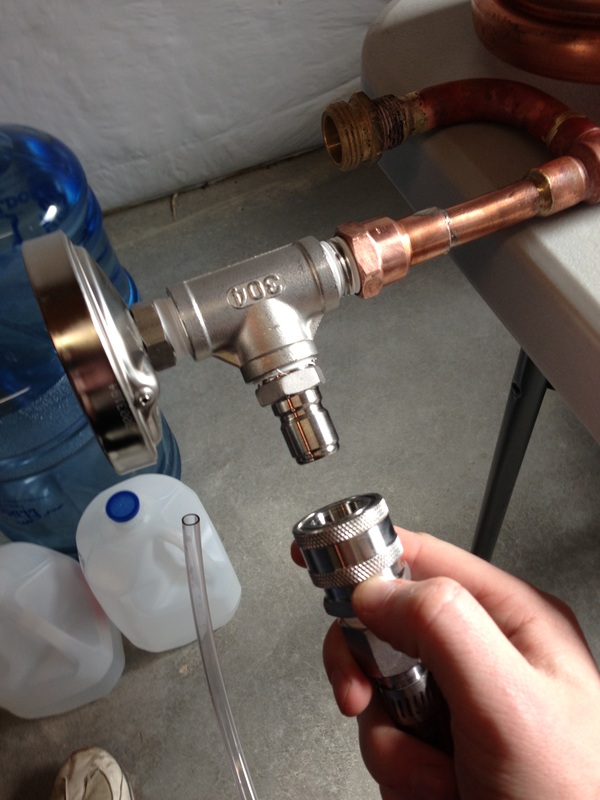
Cooled wort out section completed after getting the male stainless steel quick-disconnect attached.
This image does a good job of showing you the benefits of these quick disconnect fittings. The male quick disconnect here is where the cooled wort will flow out of. In order to get the cooled wort into whatever fermentation vessel I am using I simply snap the female quick disconnect onto the male side and Boom!, off to the races.
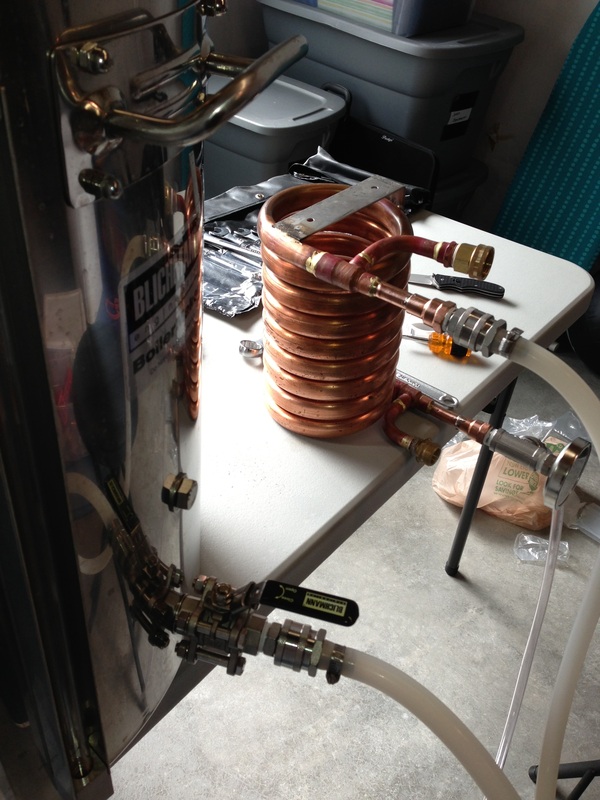
A mock-up of how the brew-day setup
So there you have it! As you can see the hot wort will flow through the ball valve at the bottom of the kettle and into the food-grade high temperature silicone tubing (also affixed with quick-disconnects for ease of use!). It then enters the counter-flow chiller while cold water is being pumped in the reverse direction from the garden hose. As the wort flows out I read the temperature from the thermometer and open or close the ball valve to speed up or slow down the wort flow accordingly. The slower it goes the more heat exchange that occurs and the closer I can get it to ground water temperatures; super handy!
This project was very simple and pretty fun. I'm really excited to have this setup and would highly recommend any home brewers out there to do something similar. If you like this build out you can find all the instructions and parts over at the glorious Electric Brewery site.
This project was very simple and pretty fun. I'm really excited to have this setup and would highly recommend any home brewers out there to do something similar. If you like this build out you can find all the instructions and parts over at the glorious Electric Brewery site.

Abbey Ale tap handle
What I'm Drinking:
Homebrewed Belgian Abbey Ale
Isn't #SWMBO's artwork the bomb? She makes this look so good. Click the link to find more of her stuff.
This kit was from Austin Homebrew Supply, one of my favorite places to order beer recipe kits. They literally have everything!
Using a trappist ale yeast, this beer has clear banana and clove notes in the aroma, almost like banana bread. The color is a golden brown with subtle orange. This was the first beer I filtered so it's crystal clear - something I strive for in my beers. The carbonation isn't quite there yet but overall the flavor is very good. This beer isn't overly bitter but has some great spice notes from the trappist yeast.
Cheers!
 RSS Feed