What's a yeast starter?
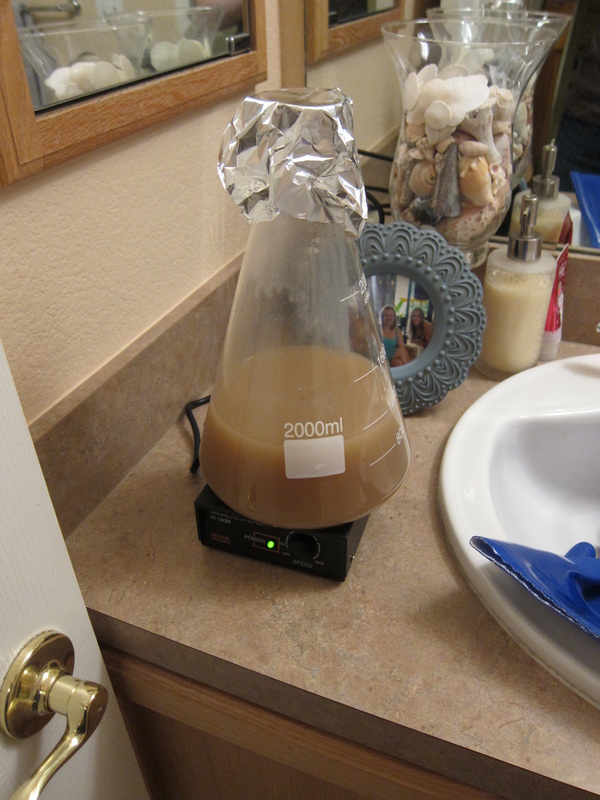
^ That's a yeast starter
Time to get a little geeky. Most homebrewers start out with a pretty bare bones stove-top setup. We ferment our beer in a closet or garage or basement or some similar environment. We just dump a vial or packet of yeast into our beer and forget about it for a week or two until it's time to bottle. This goes on for a few batches until the bug either sets in for good or you decide the hobby just isn't for you.
If you're like me the bug set in and in a big way. Your significant other starts worrying about you; interventions are had. Nothing can sway your interest however, you're hooked. You start researching ways to take your brewing to the next level. You hear about things like fermentation control, proper pitch rates, kegging, and on and on ad infinitum.
Today I want to talk about one of these Performance Enhancing Doohickies (PEDs...all the rage right now), the Yeast Starter.
The basic idea behind a yeast starter is to get your yeast up to proper pitching rates, which are largely determined by the amount of fermentable sugars in your brew, and to ensure they are active and ready to rock.
When yeast reproduce they can create esters as a by-product. Esters typically emerge as a fruity flavor to beer. Lots of times this can be a banana-esque taste to beers, which is sometimes a defining characteristic of a beer style but not always desirable in others. A yeast starter ensures that you're pitching at close to optimal rates, reducing the need for yeast to reproduce, and thus reducing ester production.
How to make a yeast starter
We make a yeast starter by combining some Dry Malt Extract (DME) with water, boiling it for 10-15 minutes, chilling it to proper pitching temperatures, and then adding our yeast! So in other words, a mini-brew!
Typical recommendations for a yeast starter suggest a Original Gravity (O.G.) of 1.040 is desirable. This gravity can be achieved with a DME:Water ratio of 1gm per 10 mL. I typically use very hot water from my tap, mix in the DME, and then funnel it into an Erlenmeyer flask to go on the stove top. You want to be sure that you either have a gas burner or a glass top stove as the direct heat from electric coils can cause borosilicate glass to crack because of uneven heat distributions.
Typical recommendations for a yeast starter suggest a Original Gravity (O.G.) of 1.040 is desirable. This gravity can be achieved with a DME:Water ratio of 1gm per 10 mL. I typically use very hot water from my tap, mix in the DME, and then funnel it into an Erlenmeyer flask to go on the stove top. You want to be sure that you either have a gas burner or a glass top stove as the direct heat from electric coils can cause borosilicate glass to crack because of uneven heat distributions.

A 2 liter Erlenmeyer flask
| Apply heat from the burner and wait for that bad boy to start boiling. When boiling a yeast starter in a flask like the one pictured to the right, one must be very careful not to have a boil-over and incur the wrath of SWMBO. I personally am experimenting with these anti-foaming drops called FermCapS. They work very well and the only complaints I have seen is from folks who are wary about putting silicone in their beer. I only use a very small amount (2-3 drops) in my yeast starter so by the time it gets to my beer glass I'm fairly confident the parts per million (ppm) are well below the FDA recommendations. |
Once the starter gets to boiling I turn the heat down and let it go for about 10-15 minutes to kill off any bacteria (our little yeast friends need a clean environment to get down in).

Boiling away!
After 10-15 minutes has elapsed I remove the flask from the heat source and let it drop in temperature a bit. Glass is most susceptible to breaking during high temperature swings. Even though this is borosilicate and supposed to be immune to said swings I just take this little precaution. After another 2-3 minutes of it adjusting temperature I drop it into an ice bath in the sink, being careful to make sure that the ice water only touches the parts of the flask that are in contact with the wort so as to, again, create a gradual temperature change. You can move the water around the flask to speed up the heat transfer, but it doesn't take that long since it's such a small volume.
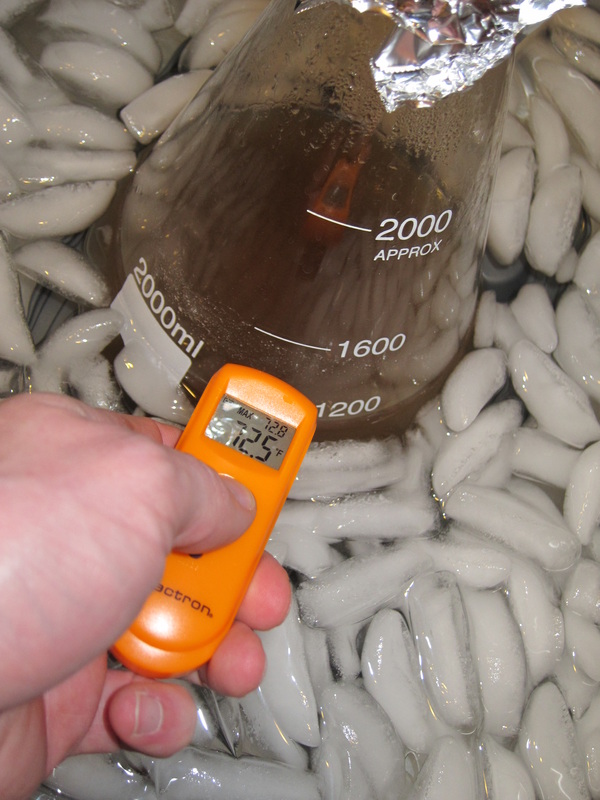
Chill mode
After the wort has cooled to an acceptable pitch rate somewhere between 70 and 80 degrees Fahrenheit, I remove it from the ice bath and dump my liquid yeast vial in. The next step will depend on your equipment and time availability. The most preferential and easiest way to create a great starter is with a stir plate. This is a plate with a big magnet inside that spins around which in turn spins a tiny stirring rod inside the flask to create a small whirlpool in the wort facilitating superb oxygen exchange (vital to yeast reproduction). The next best would be to just sit the yeast starter on a counter somewhere and give it a good twirl every time you walk past it. Finally, the poor/lazy man's approach is to just set it and forget it. Most all yeast production will have finished by 18 hours with it virtually stopping at 36. I tend to let mine go for about 24 hours or so.
Reproducing is fun. Reproducing in a whirlpool is awesome!
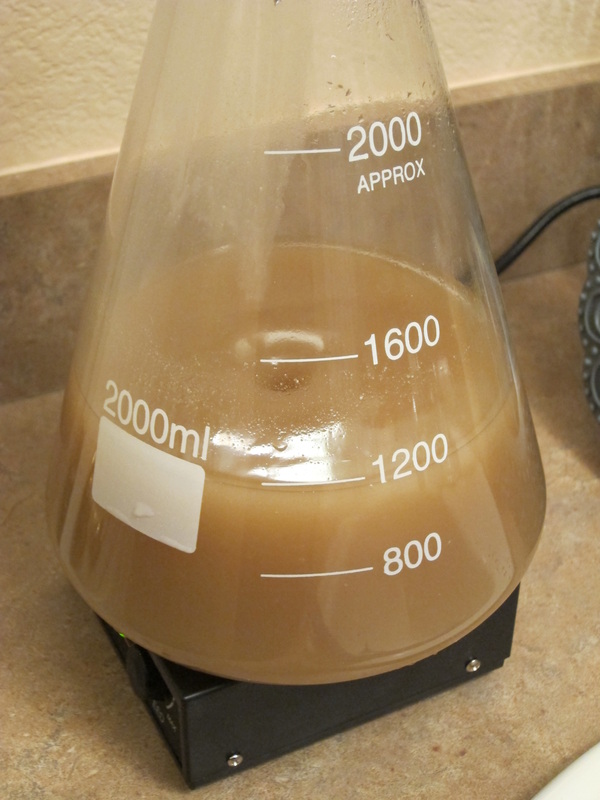
| The last step is pitching your masterfully created yeast starter into your beer. There are two basic methods for this. The first is to stick the starter in the fridge for a day or two and allow the yeast to settle to the bottom. You can then slowly and gently decant the liquid off and then pitch the remaining slurry (just like one big White Labs vial). Or, if you have a relatively small starter like the one pictured here, you could just pitch the whole thing into your beer without fear of impacting the flavors terribly. |
Making a yeast starter is really very easy. It just requires a little more forethought and a small increase in equipment (and combined with every other small increase in equipment for brewing results in having to buy a new home!). This is one of the best things a homebrewer can do to step up his or her beer quality tremendously and I highly recommend one be used anytime you're brewing anything over 1.050 O.G.
I use Jamil Zainasheff's yeast calculator as I find it very easy to use and Jamil is a yeast guru.
Post any questions to comments, cheers!
I use Jamil Zainasheff's yeast calculator as I find it very easy to use and Jamil is a yeast guru.
Post any questions to comments, cheers!
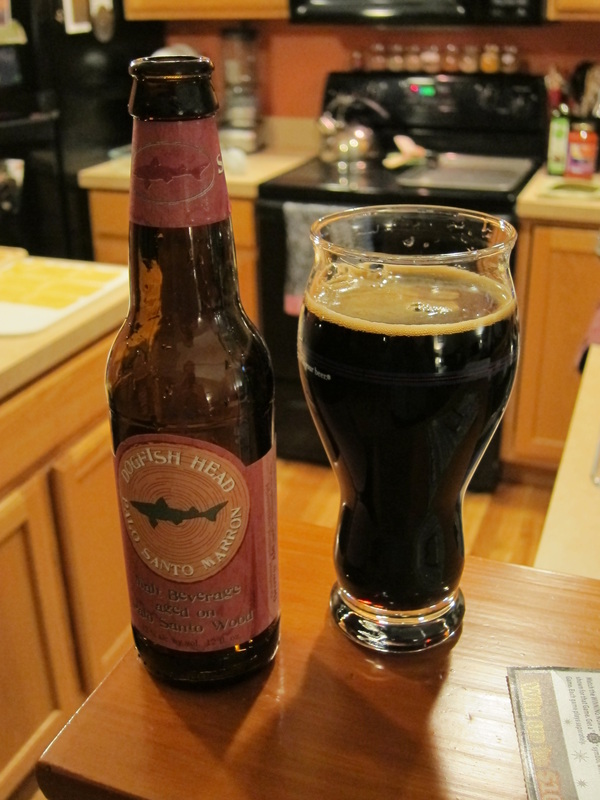
Dogfish Head Palo Santo Marron
What I'm Drinking:
Dogfish Head Palo Santo Marron
This beer is unapologetic. At a whopping 12% ABV it smells like alcohol. Stylistically they allude to it being a brown ale aged on Palo Santo wood but to me it drinks like an Imperial Russian Stout in a lot of ways. I get a lot of raisin and plum flavor coming through. This is a big bodied beer with a significant alcohol burn (for a beer) and begs to be sipped in front of the fire...while smoking a pipe...and thinking grand thoughts...
Dogfish Head's slogan is "Off-centered beers for off-centered people" and this one fits the bill through and through.
 RSS Feed